Scanner Configuration
2️⃣ Scanner Configuration
- Click on the Scanner Configuration button.
- Then a pop up will appear with the list of options available scanners of what to happen when it is to be scanned.

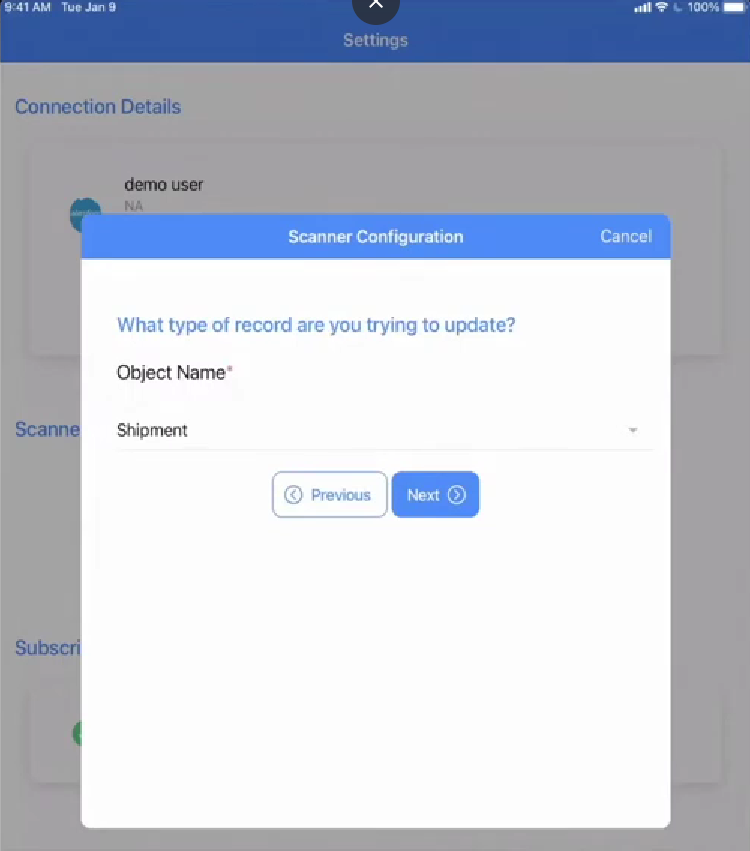
- You can select any of the options available as per your requirement and click on Next button. For example here, I have taken the option of Update Record.
- Then you will be navigated to the next screen where you need to select the objectName on which you want to perform the update.
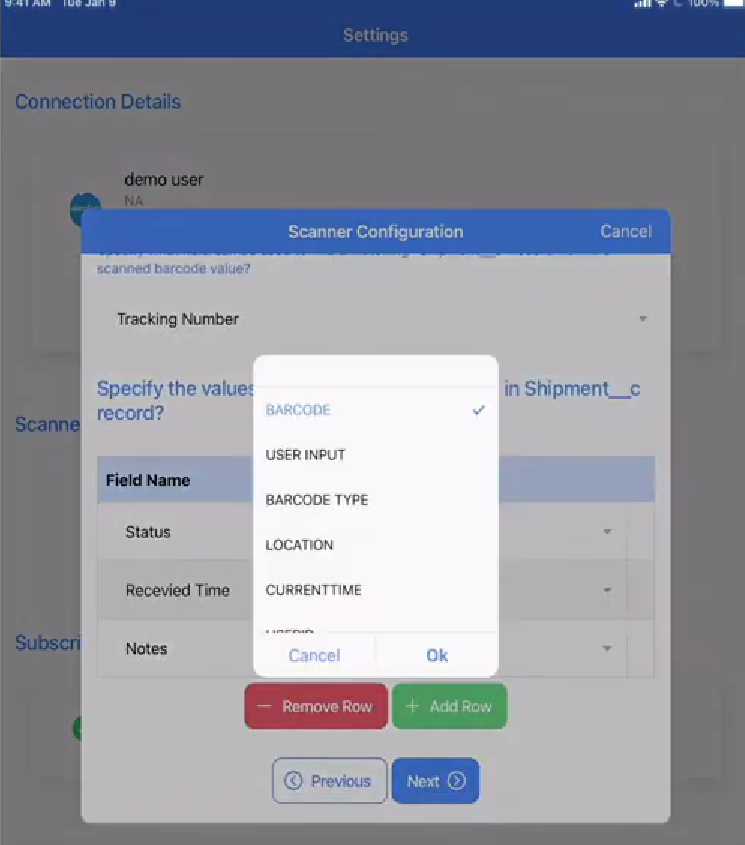
- Then you can upadte the fields as per your requirement and click on OK button and Next button.
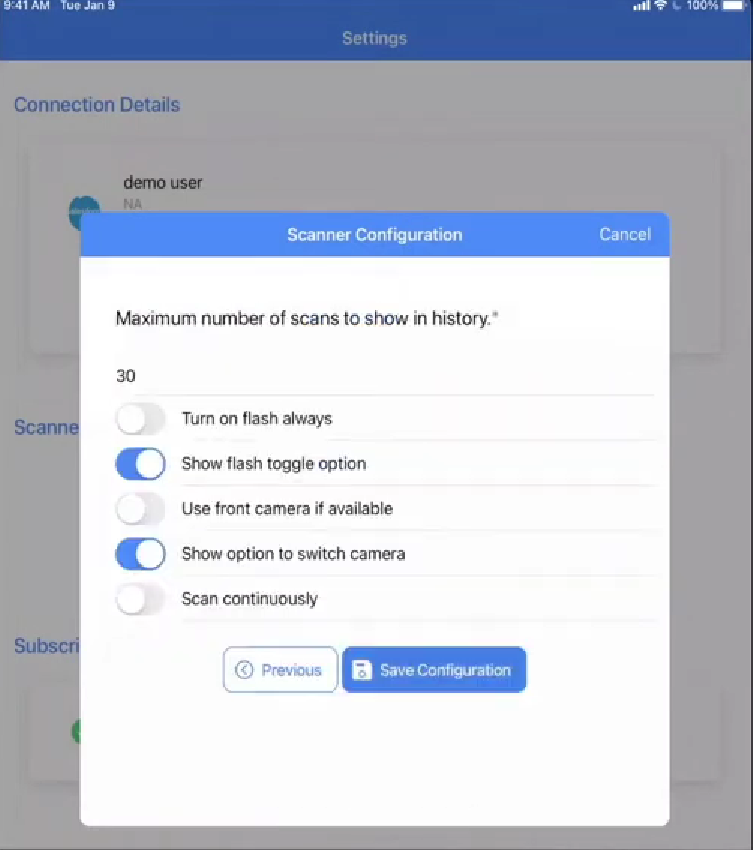
- You will be navigated to the maximum scan screen where you can set the maximum number of scans you want to perform in one go. Switch on the toggles present as per yout requirement and click on Save Configuration button as shown below.
- After saving the configuration, you will be navigated to the home screen where you can see the configured scanner option as shown below.
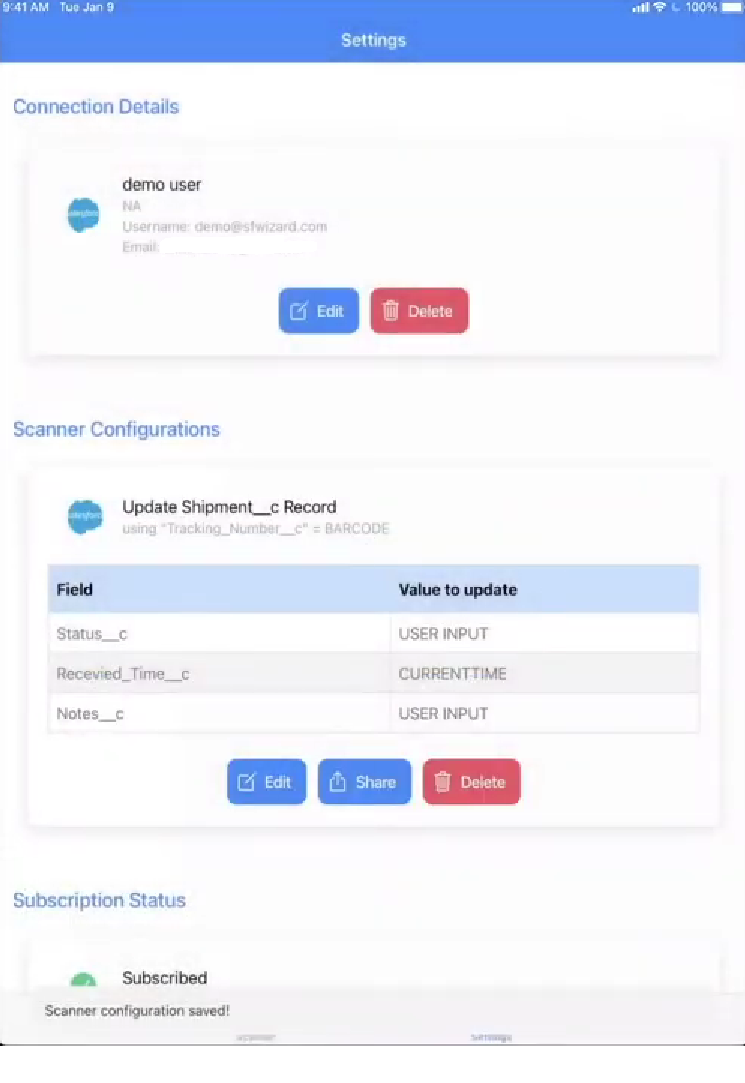
- Congratulations! You have successfully configured the scanner option in the application.