Installation
This page covers installing AppColab Grid from the Salesforce AppExchange, assigning access, and loading the built-in sample grids so you can explore the app before building your own.
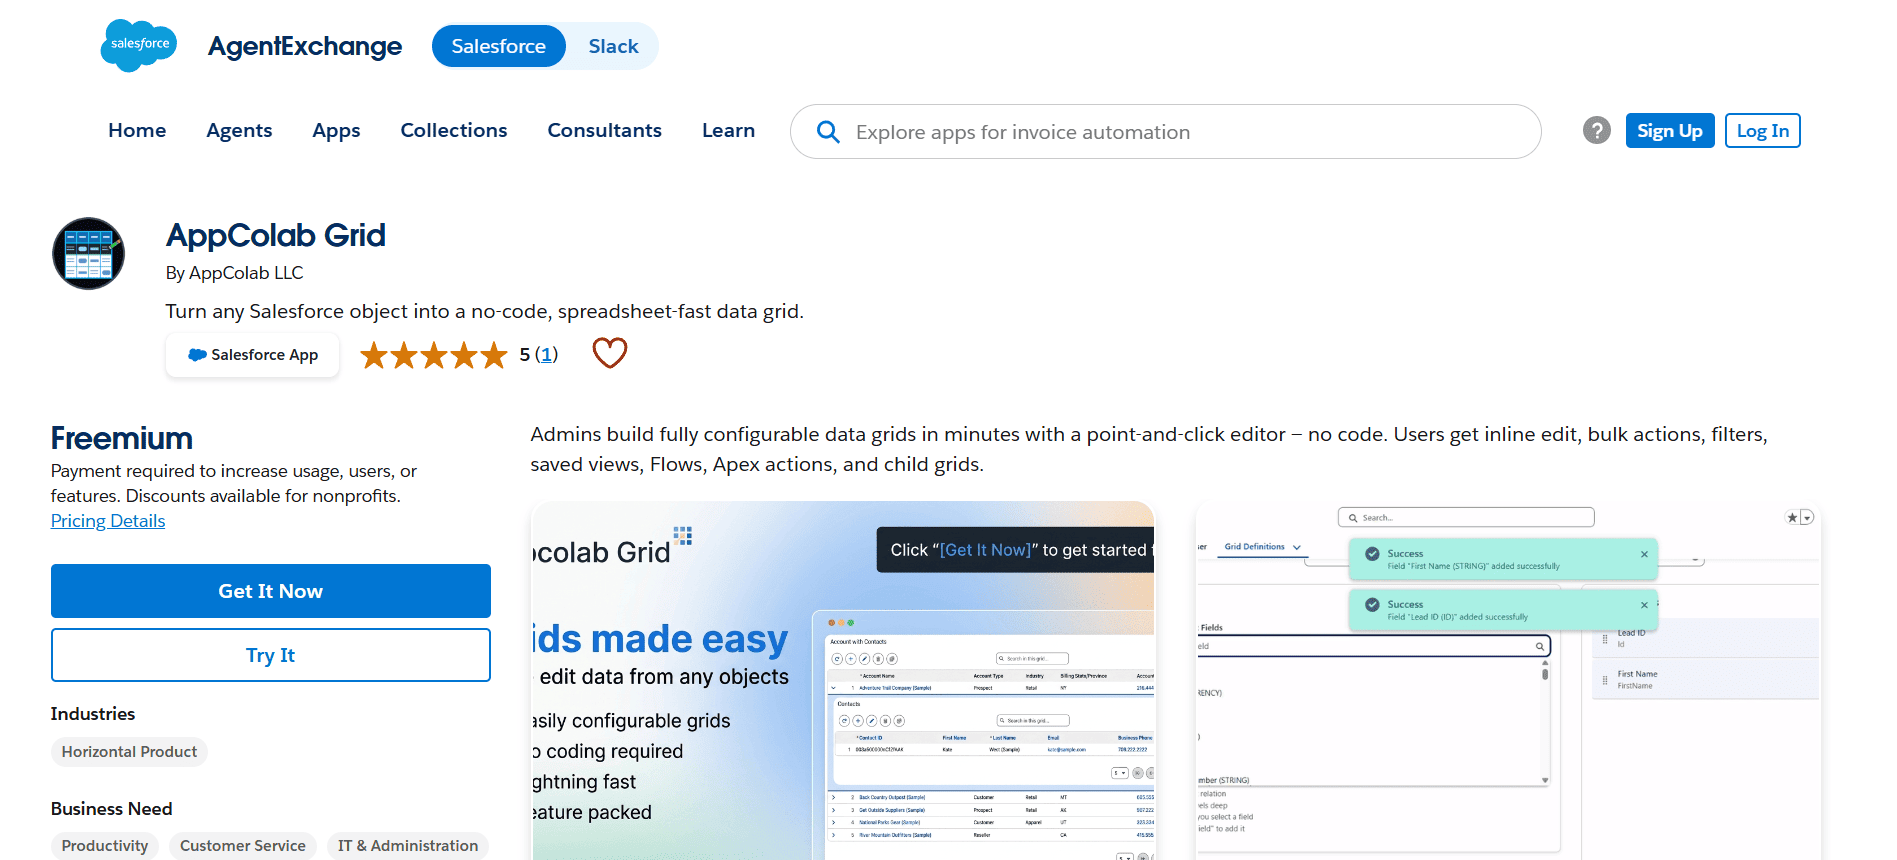
Go to AppColab Grid on AppExchange
Step 1: Install the package
- Open the AppColab Grid listing on the Salesforce AppExchange.
- Click Get It Now and choose the target org (Production or Sandbox).
- When Salesforce asks who should have access, choose Install for Admins Only (recommended). You can grant access to additional users later with permission sets.
- Wait for Salesforce to confirm the install is complete.
Step 2: Open the Appcolab Grid app
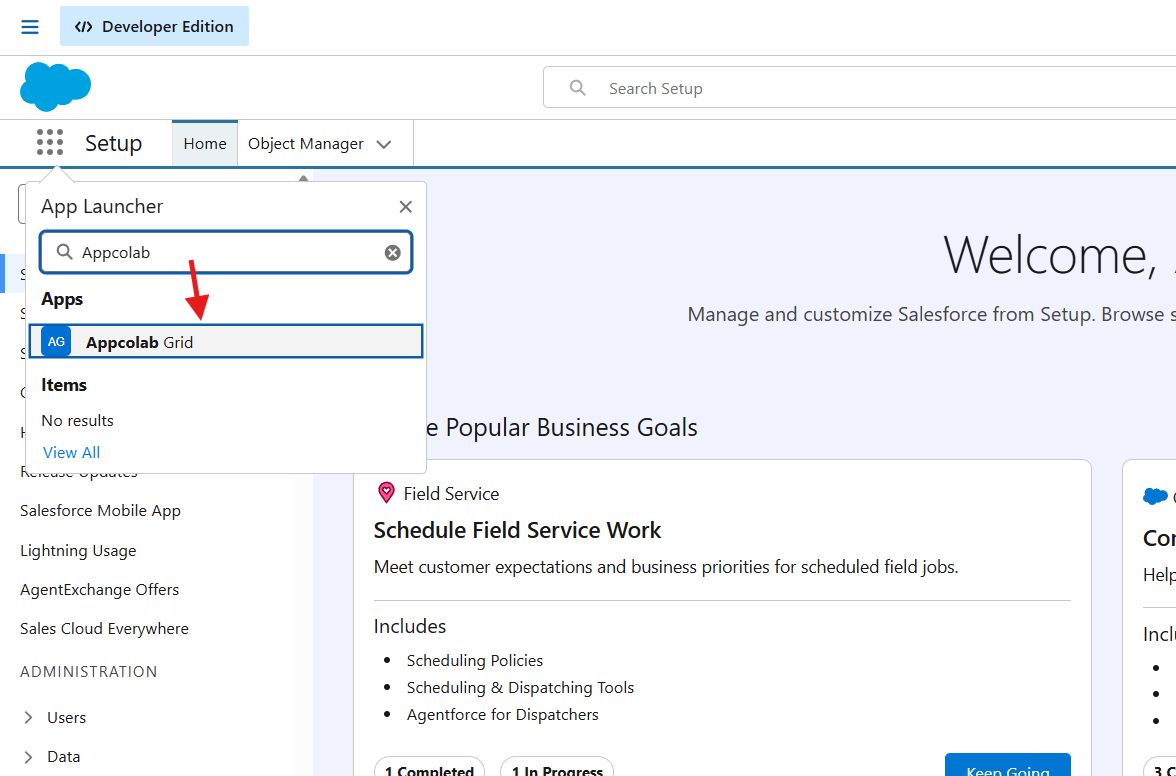
- Click the App Launcher (nine-dot icon in the top-left).
- Search for Appcolab Grid and open it.
- You should see three tabs: Grid Browser, Grid Definition, and Grid Administration.
Step 3: Assign permission sets
AppColab Grid ships with two permission sets:
Appcolab_Grid_Admin— Full access. Assign to users who configure grids, manage the app and licenses.Appcolab_Grid_User— End-user access. Assign to anyone who should open grids from the Grid Browser or a Lightning page.
To assign a permission set:
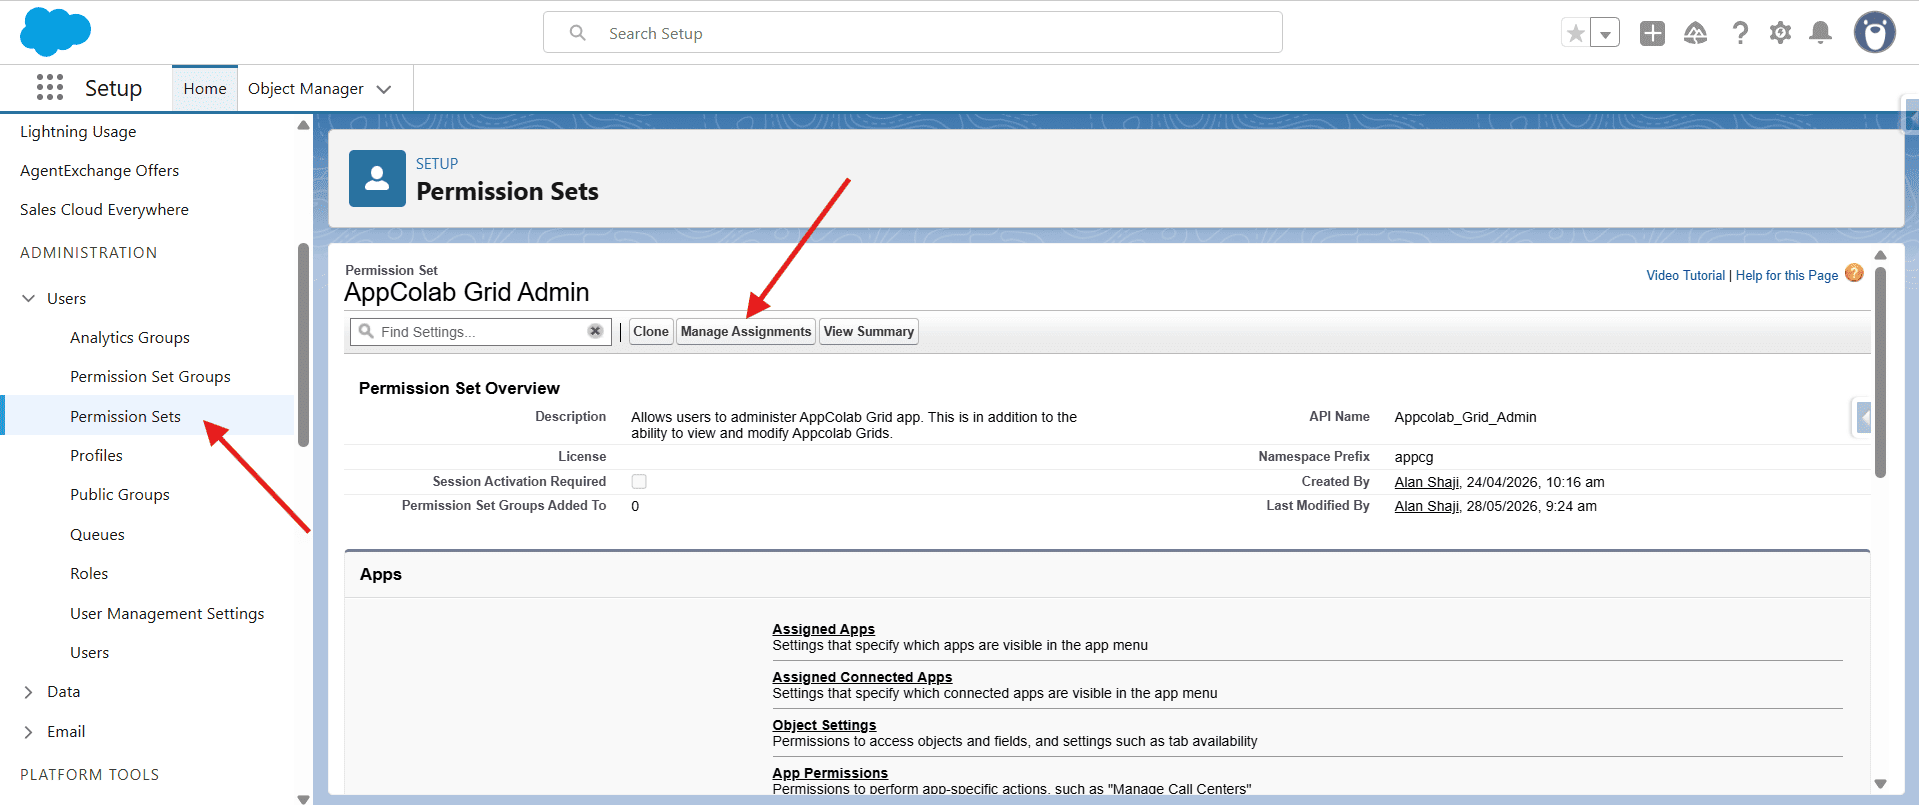
- Go to Setup → Users → Permission Sets.
- Open
Appcolab_Grid_AdminorAppcolab_Grid_User. - Click Manage Assignments → Add Assignments.
- Select the users and click Assign.
Step 4: (Optional) Load the sample grids
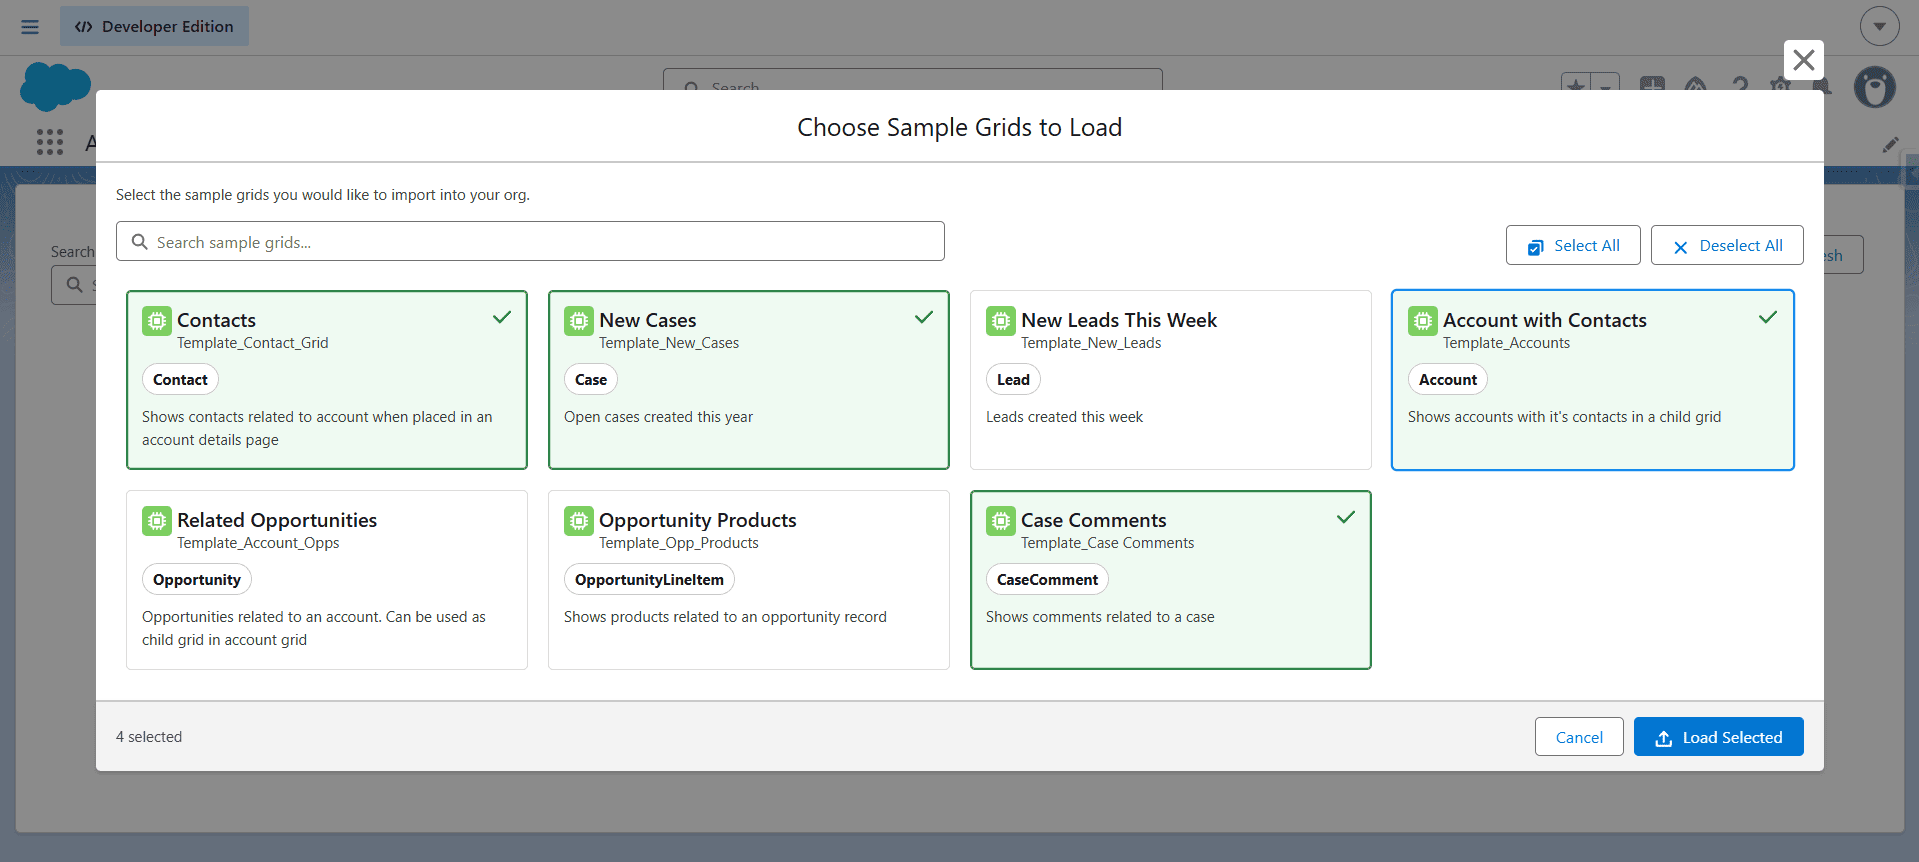
AppColab Grid includes a library of pre-built sample grids you can load with one click. These are an easy way to see what a working grid looks like and to use as starting points for your own.
- Open the Grid Browser tab.
- Click Load Sample Grids.
- Review the list of samples in the confirmation dialog and click Confirm.
- The sample grids appear in the Grid Browser immediately.
Sample grids include views for Accounts, Contacts, Opportunities, Leads, Accounts with Opportunities (child grid), and Opportunity Products.
Step 5: Verify the install
- Open the Grid Browser tab — you should see your sample grids listed as cards.
- Click View on any card to open a working grid.
- Open the Grid Administration tab — you should see counts of active grids and assigned licenses.
You are ready to build your first grid. Continue with the Quick Start.